
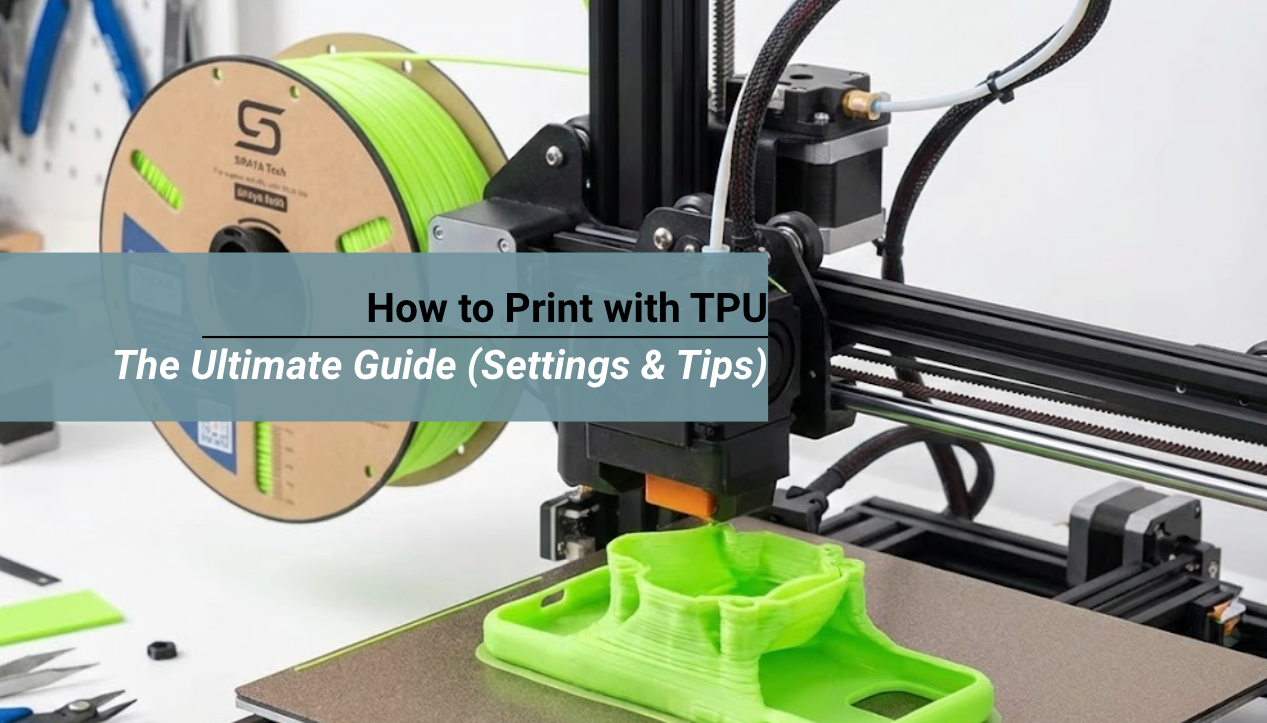
Learning how to print with TPU (Thermoplastic Polyurethane) is a rite of passage for every maker. Unlike rigid plastics like PLA, TPU is soft, elastic, and tricky to control. It wants to bend, buckle, and string.
But once you dial in your settings, it opens up a world of functional possibilities—from custom gaskets to drone bumpers.
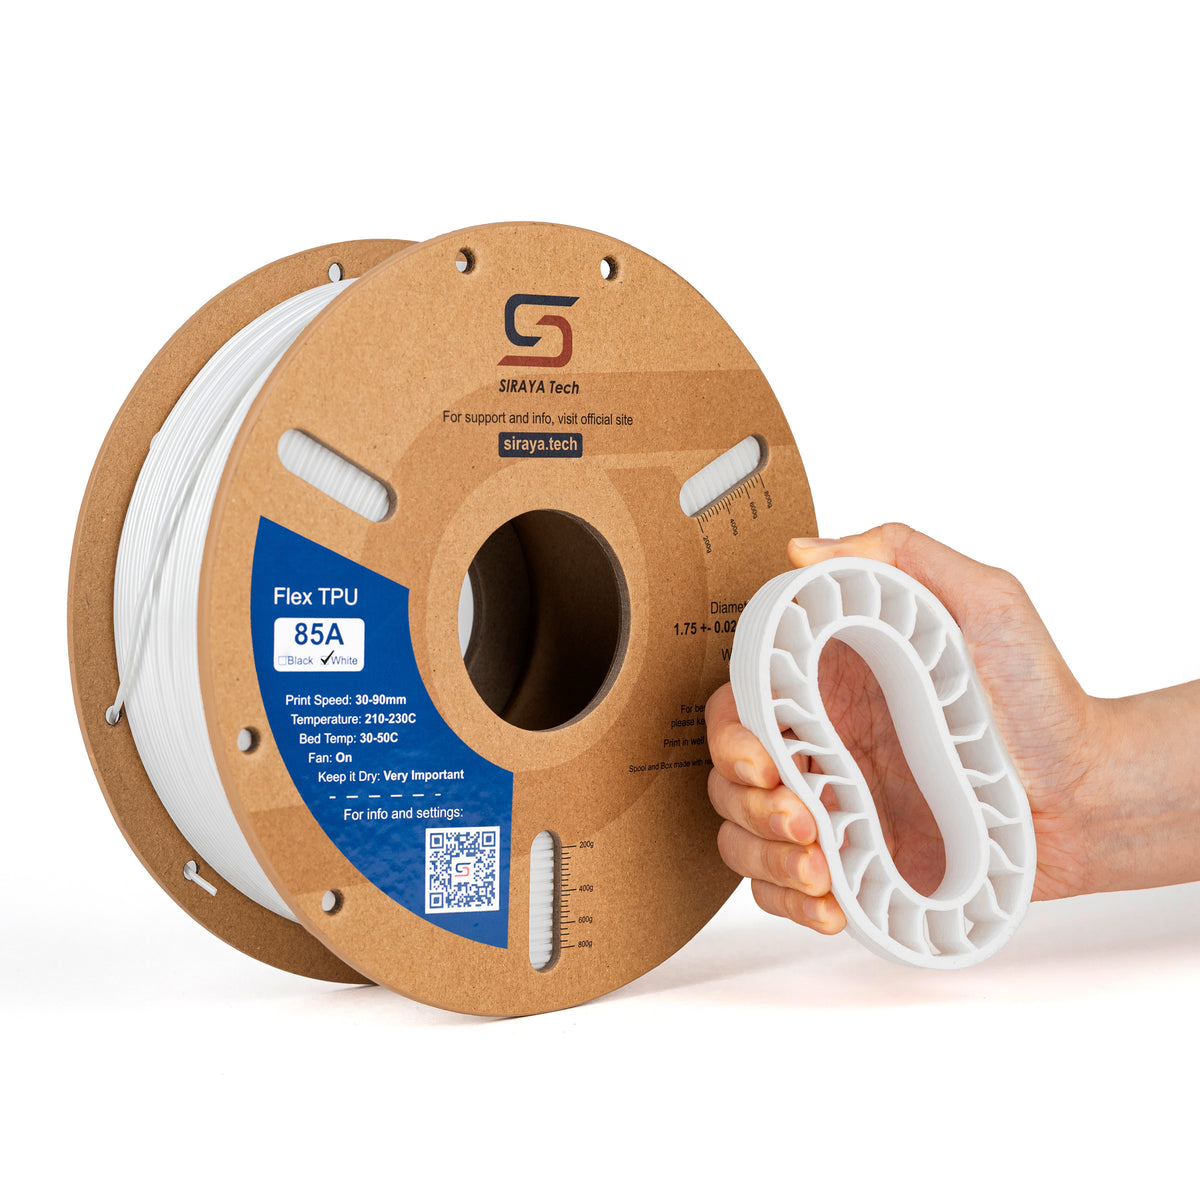
In this guide, we will walk you through the exact slicer settings, hardware requirements, and troubleshooting tricks you need to tame this wild material using Siraya Tech's premium Flex Family filaments.
- 🔹 Slow Down: Print at 20-30mm/s to prevent jams.
- 🔹 Dry It First: TPU absorbs water instantly. Popping sounds = Wet filament.
- 🔹 Disable Retraction: Retraction causes clogs. Turn it off or keep it under 1mm.
- 🔹 Loosen Tension: Don't squash the filament; loosen your extruder idler screw.
You May Want to Shop TPU Filaments
Explore More

What is TPU and Why is it Special?
TPU stands for Thermoplastic Polyurethane. It is a type of TPE (Thermoplastic Elastomer). In simple terms, it is a plastic that acts like rubber.
Unlike PLA or PETG which are rigid and brittle, TPU is elastic. You can stretch it, squash it, and bend it. It will return to its original shape. This makes it incredibly durable. You can literally throw a TPU print against a wall and it will just bounce back.
Understanding Shore Hardness (What are you printing?)
Before changing settings, know your material. TPU isn't just one thing; it comes in different levels of "squishiness."
Feels like a shopping cart wheel. Stiff enough for most Bowden printers. Best for beginners.
- Check out our TPU 95A HF best quality slicer settings for a deep dive.
Feels like a shoe insole. Requires very slow speeds or a Direct Drive extruder. Great for grips.
- We have a specific guide to printing with Siraya Tech Flex 85A TPU filament if you are brave enough to try it.
Extremely soft. Expert difficulty. Requires specialized hardware.
Hardware Setup: Direct Drive vs. Bowden
The type of printer you have makes a huge difference in your success rate. The distance between the extruder motor and the hotend nozzle is the key factor.
Direct Drive Extruders
This is the gold standard for TPU. In a direct drive system, the motor is mounted right on top of the print head. It pushes the filament directly into the hot nozzle.
Because the path is short, the filament has no room to bend or coil up. This gives you precise control. You can print faster and with softer materials on a direct drive system like a Prusa MK4, Bambu Lab, or Sovol SV06.
Bowden Tube Extruders
These printers have the motor mounted on the frame, far away from the nozzle. The filament is pushed through a long PTFE tube to get to the hotend. Popular printers like the original Ender 3 or CR-10 use this system.
Pushing flexible rubber through a long tube is difficult. It is like trying to push a rope. The filament compresses inside the tube instead of pushing out the nozzle. This creates a delay called "hysteresis."
- Tip for Bowden Users: If you have a Bowden printer, you must print extremely slow. We are talking 15mm/s to 20mm/s. You must also turn retraction completely off to avoid jamming the tube.
Critical Slicer Settings for TPU
Do not use your "Standard Quality" profile or your PLA profile. You need to create a custom profile specifically for flexible materials. Here are the exact settings to change.
1. Print Speed (The Most Important Setting)
Speed kills TPU prints. If you try to push the filament too fast, pressure builds up in the nozzle. Since the filament is soft, it cannot overcome that pressure. Instead of coming out the nozzle, it bends sideways inside the extruder gears. This is called "buckling."
- Recommended Speed: 20mm/s to 30mm/s.
- Wall Speed: 15mm/s to 20mm/s.
- Infill Speed: 25mm/s to 30mm/s.
- Travel Speed: Keep this high (150mm/s or more). A fast travel move helps snap the oozing string rather than dragging it across the print.
2. Retraction Settings
Retraction is when the printer pulls the filament back to prevent oozing during a travel move. With rigid plastic, this works great. With TPU, it is a nightmare.
When the extruder pulls back on TPU, it stretches like a rubber band. It does not actually pull the tip back from the nozzle immediately. Then, when it pushes forward, it takes time to re-compress. This lag leads to under-extrusion and severe jams.
- Direct Drive: Keep retraction very low. Try 0.5mm to 1.0mm distance. Set the retraction speed to 25mm/s.
- Bowden: Turn retraction OFF. It is better to have some stringing that you can trim later than to have a failed print because the nozzle clogged.
3. Temperature
TPU needs heat to flow, but too much heat causes messy stringing. It holds heat longer than PLA.
- Nozzle: 210°C to 230°C. Start hotter to ensure good flow. If you see too many strings or blobs, lower the temp by 5 degrees.
- Bed: 40°C to 60°C. TPU sticks very well to most surfaces. You do not need a super hot bed.
- Cooling Fan: Set the part cooling fan to 100%. TPU needs to cool down instantly to hold its shape, especially for overhangs.
4. Layer Height and Flow
- Layer Height: Standard 0.2mm works well.
- Flow Rate: You might need to increase flow to 105% or 110%. Because TPU stretches, sometimes the extruder gears slip slightly. Increasing the flow compensates for this slipping.
👉 If you are using a specific machine like a Bambu Lab, the settings are unique because of the high-speed motion system. Read our guide how to print soft flex TPU on Bambu Lab for machine-specific tweaks.
The "Golden" Slicer Settings for TPU
Stop guessing. Input these values into Cura or PrusaSlicer as a starting point for Siraya Tech TPU.
| Setting | Direct Drive Value | Bowden Value |
|---|---|---|
| Print Speed | 30 - 40 mm/s | 15 - 20 mm/s (Slow!) |
| Retraction Distance | 0.5mm - 1.0mm | 0mm (OFF) |
| Retraction Speed | 25 mm/s | N/A |
| Nozzle Temp | 210°C - 230°C | 215°C - 235°C |
| Bed Temp | 40°C - 60°C | 40°C - 60°C |
| Cooling Fan | 100% | 100% |
| Flow Rate | 105% - 110% | 105% - 110% |
The Secret Enemy: Moisture
If there is one thing you remember from this article, let it be this. TPU absorbs water like a sponge. This property is called hygroscopy.
Even if you live in a dry climate, TPU can absorb enough moisture from the air in 24 hours to ruin a print. Water molecules get trapped inside the plastic. When that water hits the hot nozzle, it boils instantly. It turns into steam.
The Signs of Wet Filament:
- You hear popping, cracking, or hissing sounds at the nozzle.
- You see steam coming from the hotend.
- The print surface looks fuzzy or rough instead of smooth and shiny.
- The layers are weak and separate easily.
The Fix: You must dry it. No amount of slicer tweaking will fix wet filament. Put it in a dedicated filament dryer at 55°C for at least 4 to 6 hours before printing. You can also print while the spool is in the dryer to keep it dry during long prints.
Troubleshooting Common Issues
Even with the best settings, things can go wrong. Here is how to fix the most common TPU failures.
1. The Filament Wraps Around the Gears
This is the most annoying failure. You come back to your printer to find it "air printing." Nothing is coming out of the nozzle. When you open the extruder, you find the filament has coiled up like a snake inside the gears.
- Cause: You are printing too fast, or the extruder tension is too tight.
- Fix: Slow down. Also, check the idler screw on your extruder. This is the screw with a spring that puts pressure on the filament. Loosen it significantly. You want just enough grip to pull the filament, not squash it flat.
2. Bed Adhesion Problems
TPU usually sticks too well. This is the opposite problem of PLA. If you print on a PEI sheet, TPU can bond permanently to it. When you try to remove the print, you might rip the PEI coating right off the steel sheet.
- Fix: Use a release agent. Apply a thin layer of glue stick or hairspray to the bed before printing. This puts a protective layer between the plastic and the bed.
- Warping: TPU rarely warps, unlike ABS or best PETG filament. If it is lifting, your bed is likely dirty (oily fingerprints) or not level.
3. Stringing and Oozing
TPU loves to string. It is very hard to get a completely clean print without any wisps.
- Fix: Dry the filament. This is the number one cause. If it is dry and still stringing, try enabling "Combing" in Cura or "Avoid Crossing Perimeters" in PrusaSlicer. This keeps the nozzle inside the model during travel moves so the strings stay hidden inside the infill.
Advanced Tips for Complex Prints
Once you master the basics, you can try some advanced techniques.
Supports with TPU
Removing supports from TPU is difficult. Because the layers bond so strongly, the supports fuse to the model.
- Tip: Avoid supports if possible. TPU is actually great at bridging and overhangs if your cooling fan is at 100%.
- Settings: If you must use supports, increase the Z-distance (the gap between support and model) to 0.3mm or 0.4mm to make them easier to rip off.
Dual Color Printing
If you have a dual extruder printer, you can combine TPU with rigid materials.
- Idea: Print a hard case with strong 3D printer filament like PLA+, but use TPU for the corners and bumpers. This gives you the best of both worlds.
Vase Mode
TPU looks beautiful in "Vase Mode" (Spiralize Outer Contour). Since it is printed as one continuous line with no retractions, the quality is usually flawless. This is perfect for printing flexible bracelets, wristbands, or squishy containers.
Project Ideas for Your First TPU Print
Once you get it working, what should you make? Here are some functional ideas.
- Phone Cases: The classic TPU project. You can customize it with your name or logo.
- Drone Guards: Protect your motors and camera from crashes. TPU absorbs the impact energy.
- Rubber Feet: Stop your furniture or 3D printer from sliding around on the desk.
- Gaskets and Seals: Create custom O-rings or seals for jars and boxes.
- Tires: Print custom tires for RC cars or robots. You can change the infill density to make them softer or harder.
👉 Check out our collection of ideas to print with TPU for more inspiration.
Conclusion
Mastering how to print with TPU takes patience. You cannot rush it. You have to respect the physics of the material. But the reward is worth it. You gain the ability to create durable, functional, rubber-like parts that rigid plastics simply cannot match.
Start with a stiffer 95A printer filament to build your confidence. Keep your speed low. Keep your 3D printer filament dry. Once you nail these basics, you will wonder why you were ever afraid of flexible filament in the first place.
Ready to start your flexible journey?
- Shop TPU Filament – Premium flexible materials for every project.
- Shop High Temp 3D Printer Filament – Engineering grade materials for heat resistance.
- Shop PETG UV Resistant – For outdoor durability and weather resistance.
- Shop Strong 3D Printer Filament – Tough options for functional mechanical parts.
- Shop Prusa Filaments – Materials optimized for your specific machine.
FAQs About How to Print with TPU Filaments
Why is my TPU print stringing so much?
Stringing is caused by two things: moisture and retraction settings. First, dry your filament for 6 hours. Wet TPU will always string. Second, try increasing your travel speed. If the nozzle moves faster between parts, it snaps the string rather than dragging it. Finally, check your temperature. If it is too hot, the filament becomes too runny and oozes out.
Can I print TPU on a stock Ender 3?
Yes. However, stock Ender 3 printers usually have a Bowden extruder. This means you must print very slowly (around 20mm/s) and turn off retraction completely. It is difficult but possible. Upgrading to a "Sprite" direct drive extruder makes printing TPU on an Ender 3 much easier and faster.
Does TPU produce toxic fumes?
TPU is generally safe and does not produce strong, toxic odors like ABS or Styrene. However, you should always print in a well-ventilated room. Some people find the smell of heated rubber unpleasant, even if it is not toxic. Unlike resin printing, you do not need a full filtration mask, but fresh air is always good.
How do I unclog a nozzle with TPU?
A: Do not use a "cold pull" with TPU. A cold pull works by letting the plastic harden and pulling it out. Because TPU stretches, it will just snap inside the heatbreak and make the clog worse. Instead, heat the nozzle to 240°C. Then, push a piece of rigid PLA filament through the extruder by hand. The hard PLA will push the soft TPU out of the nozzle.
What is the best bed surface for TPU?
Textured PEI sheets are great because they leave a nice pattern and release relatively easily once cooled. Glass beds can work, but you absolutely must use glue stick as a separator. If you print TPU directly on clean glass, it can bond permanently and shatter the glass when you try to remove it.