
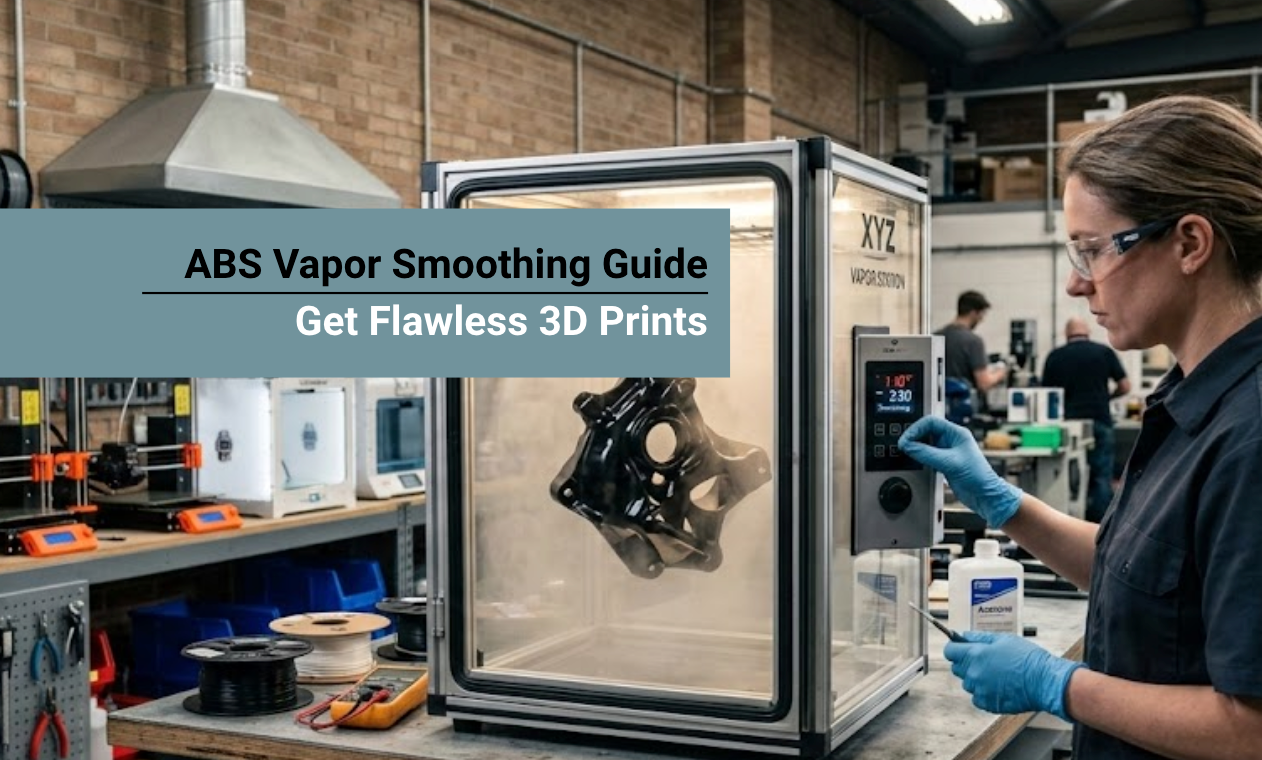
If visible layer lines are ruining the aesthetic of your functional FDM parts, ABS vapor smoothing is the ultimate post-processing technique.
Unlike tedious manual sanding, this chemical process uses acetone vapor to gently melt the outer shell of your 3D print.
The result is a glossy, injection-molded finish that elevates your prototyping. In this comprehensive guide, we walk you through the exact steps, safety protocols, and materials required for flawless results.
Whether you print with traditional filament or explore high-toughness alternatives, you will learn how to perfect your surface finishes every time.
What is ABS Vapor Smoothing?
When printing with Fused Deposition Modeling (FDM) 3D printers, the machine extrudes melted plastic layer by layer.
Regardless of how fine you tune your layer height settings, these microscopic ridges remain visible.
This gives the final part a matte, textured appearance. While acceptable for rapid prototyping, end-use parts, display models, and cosplay props require a perfectly smooth exterior.
ABS vapor smoothing is a chemical post-processing method tailored specifically for Acrylonitrile Butadiene Styrene (ABS) and Acrylonitrile Styrene Acrylate (ASA) plastics.
- The Chemical Reaction: ABS and ASA are highly soluble in acetone.
- The Melting Phase: Exposing these plastics to acetone vapor causes the outermost layer to swell, melt, and flow together, bridging the gaps between layer lines.
- The Curing Phase: Once the acetone evaporates from the plastic, the rearranged surface structure hardens into a perfectly smooth, glossy shell that mimics professional injection molding.
Shop UV Resins & FDM Filaments
Explore More

Crucial Safety Precautions
Before attempting this process, you must understand the hazards associated with chemical solvents. Acetone is a volatile, highly flammable, and potentially harmful chemical.
- Severe Fire Hazard: Pure acetone can ignite at room temperature. Never perform vapor smoothing near open flames, space heaters, or anything that could generate an electrical spark.
- Strict Ventilation Needs: Inhaling concentrated acetone fumes can cause dizziness, headaches, and nausea. Always work outdoors, in an open garage, or under an industrial fume hood.
- Mandatory Protective Gear: Wear thick neoprene gloves to protect your skin from chemical burns. Always utilize safety goggles and a dual-cartridge respirator mask to prevent the inhalation of harmful vapors.
Tools and Materials Required for ABS Vapor Smoothing
You do not need to purchase an expensive, commercial vapor smoothing machine to get started. You can build a highly effective vapor chamber using common household items.
| Item Needed | Specific Requirements | Purpose in Process |
|---|---|---|
| Acetone | 99-100% High-Purity | Standard nail polish remover is too diluted; pure acetone is required to create a sufficiently concentrated vapor . |
| Glass Container | Transparent, Sealable | Acts as the vapor chamber. Glass is strictly required so you can monitor the smoothing progress safely without melting the container . |
| Paper Towels | Highly Absorbent | Soaked in liquid acetone and attached to the chamber walls to facilitate rapid vaporization . |
| Neodymium Magnets | Small, Strong | Used in pairs (inside and outside the glass) to securely hold the paper towels against the chamber walls . |
| Aluminum Foil | Standard Kitchen Foil | Acts as a protective barrier between the 3D print and the base to prevent the print from permanently sticking to the floor . |
Step-by-Step Guide to the Acetone Vapor Smoothing Process

Achieving the perfect glossy finish requires patience and a highly controlled environment. Follow these four exact steps to safely smooth your 3D printed parts.
Step 1: Chamber Preparation
Proper setup prevents uneven smoothing and protects your print from fusing to your workstation.
- Select a glass container that comfortably fits your 3D print, leaving a few inches of clearance on all sides.
- Because the container will be inverted (placed upside down), use a flat metal or glass plate to serve as the base.
- Place a folded sheet of aluminum foil on the base so the bottom of your ABS part does not fuse to the resting surface.
- Use your strong magnets to pin dry paper towels to the inside walls of the glass container.
- Ensure the paper towels are pulled tight against the glass; sagging towels can accidentally touch and ruin the 3D print.
Step 2: Activating the Vapor
This step introduces the chemical solvent to the environment.
- Working in your well-ventilated area, carefully pour a small amount of high-purity acetone onto the paper towels pinned inside the glass container.
- Swirl the container slightly to ensure the paper towels are fully saturated.
- Pour out any excess liquid pooling at the bottom of the glass. You only want the vapor to interact with the print, not a liquid bath.
- Carefully invert the glass container and place it over your 3D print, sealing it flat against the base.
Step 3: Monitoring the Magic
Timing is the most critical variable in this process. Overexposure will destroy your print.
- The moment the chamber is sealed, the acetone evaporates, filling the dome with solvent vapor that attacks the ABS layer lines.
- Depending on print size, room temperature, and vapor concentration, smoothing takes anywhere from 30 minutes to two hours.
- Do not walk away. Watch the part closely through the glass.
- Look for the print to become wet and shiny. If left too long, the plastic over-melts, destroying fine details and causing the model to collapse.
Step 4: Safe Drying and Curing
Halting the process correctly ensures the print hardens without blemishes.
- Once the layer lines have dissolved to your liking, carefully lift the glass container straight up to release the trapped vapors into your ventilated space.
- Do not touch the 3D print. At this stage, the exterior of the model is in a highly vulnerable, semi-liquid state.
- Touching the print will leave permanent fingerprint indentations in the plastic.
- Leave the print resting on its aluminum foil base. It takes anywhere from two hours to two full days for residual acetone to evaporate and the shell to harden into a durable, glossy finish.
Troubleshooting Common Smoothing Issues

Even with perfect preparation, issues can arise. Use this matrix to identify and fix common defects during the vapor process.
| Troubleshooting Issue | Potential Cause | How to Fix / Prevent |
|---|---|---|
| Print lost fine detail | Over-exposure to vapor | Reduce the time the print spends in the chamber. Check progress visually every 10 minutes. |
| Uneven smoothing | Poor vapor circulation | Add a small, brushless PC fan inside larger containers to circulate the heavy acetone vapors evenly. |
| Bottom is rough | Base contact isolation | Vapor cannot reach the flat bottom surface. Suspend the print using wire if all sides must be smooth. |
| White residue appears | Moisture trapped in chamber | Ensure the print and chamber are completely dry before starting; work in low-humidity environments. |
| Print collapses entirely | Thin walls / Over-melting | Increase the wall thickness (perimeters) in your slicer settings before printing to withstand the solvent. |
Manual Sanding: The Mechanical Alternative
If you prefer not to work with highly flammable solvents, manual sanding is a highly effective, albeit labor-intensive, alternative.
Unlike chemical smoothing (which only works on ABS, ASA, and HIPS), sanding applies to nearly all 3D printing materials, including PLA, PETG, and resin.
- The Grit Progression: Start with coarse grit sandpaper (120-200) to knock down prominent layer lines, and progressively work up to a fine 2000+ grit for a glass-like finish.
- The Wet Sanding Method: Wet sanding, using water mixed with a drop of dish soap, is highly recommended. The water keeps the plastic cool, prevents friction from melting the part, and flushes away debris so your sandpaper does not clog.
For a deep dive into grit progression, filler primers, and finishing techniques, read our comprehensive guide: Sanding 3D Prints: Complete Guide for Smooth Finishes.
Filament vs. Resin: Avoiding Post-Processing Entirely
While ABS filament is incredibly durable and heat-resistant, achieving a perfectly smooth finish requires significant manual or chemical post-processing.
If your ultimate goal is to produce high-resolution, perfectly smooth parts right off the build plate without toxic acetone vapors, resin 3D printing is the superior choice.
Historically, standard 3D printing resins were highly brittle. However, modern material science has bridged the gap.
The ABS Like Resin vs ABS Filament debate highlights that today's ABS-like resins contain specialized toughness modifiers.
These modifiers allow resin prints to bend and absorb impact just like traditional thermoplastics. By printing with high-quality engineering resins, you bypass the need for vapor smoothing entirely.
Recommended Materials for Smooth Finishes
To get the best results from your post-processing, you must start with high-quality raw materials. Poorly manufactured filaments with inconsistent diameters result in deep layer lines that are incredibly difficult to smooth out.
For FDM Users:
If you are committed to the vapor smoothing workflow, utilizing a premium filament is non-negotiable.
Explore our ABS Plastic Filament collection, engineered for high-temperature, high-flow extrusion. It is specifically formulated to be highly compatible with both mechanical sanding and acetone vapor smoothing, ensuring your functional parts perform well and look aesthetically perfect.
For Resin Users:
If you want the mechanical strength of ABS without the hassle of chemical vapor smoothing, the Siraya Tech Fast ABS-Like Resin is the perfect solution.
Engineered for high-resolution LCD and DLP printers, it offers an incredible balance of non-brittle toughness and stunning, smooth detail right out of the printer.
It delivers commercial-grade aesthetics with maximum impact resistance.
Further Reading: Looking for more ways to optimize your workflow? Check out How to Make 3D Print Smooth: Pro Tips to learn about epoxy coatings and advanced slicing tricks.
Conclusion
Mastering ABS vapor smoothing allows you to elevate standard 3D prints into professional, retail-ready products.
While the process requires strict safety precautions, proper ventilation, and a watchful eye, the glossy, injection-molded results are unmatched by standard finishing methods.
By setting up a simple glass vapor chamber and carefully timing the acetone exposure, you can permanently erase layer lines from your functional parts.
Alternatively, if you want to bypass the chemical process entirely, upgrading to Siraya Tech's advanced ABS-Like resins offers an immediate, hassle-free path to flawlessly smooth prints.
FAQs About ABS Vapor Smoothing
What materials can be vapor smoothed?
Chemical vapor smoothing using acetone is strictly effective on ABS (Acrylonitrile Butadiene Styrene), ASA (Acrylonitrile Styrene Acrylate), and HIPS (High Impact Polystyrene). These specific thermoplastics are highly soluble in acetone, allowing the surface to melt and gloss over seamlessly.
Can you vapor smooth PLA or PETG?
No, you cannot use acetone to vapor smooth PLA or PETG. PLA is highly resistant to acetone, and attempting to smooth it will result in a sticky, deformed mess rather than a glossy finish. To smooth PLA or PETG, you must rely on mechanical wet sanding or apply epoxy resin surface coatings.
How long does acetone vapor smoothing take?
The duration of the process varies widely based on the size of the 3D print, the ambient temperature, and the volume of the vapor chamber. Generally, the smoothing process takes anywhere from 30 minutes to two hours. You must monitor the part constantly through a transparent container to prevent over-melting.
Is ABS vapor smoothing safe?
Vapor smoothing is safe only if strict precautions are followed. Acetone is highly flammable and emits toxic fumes that cause dizziness and nausea. The process must always be performed in a well-ventilated area—preferably outdoors—away from any heat sources or open flames, while wearing appropriate PPE like a dual-cartridge respirator and neoprene gloves.
Does vapor smoothing affect dimensional accuracy?
Yes, because vapor smoothing works by chemically melting and rearranging the outer layer of the plastic, it naturally causes a slight loss in dimensional accuracy. Sharp corners will become slightly rounded, and very fine micro-details may be completely dissolved. It is not recommended for mechanical parts that require strict, microscopic tolerances.